iphone Photo tips:
Operation organization edition
Who doesn’t want to step up their phone photo game? A few simple tips - for before, during, and after the snap - will help you take the best possible pictures with the camera that’s always with you. Apply these techniques to both before and after shots to make your organization transformation really shine.

set up
Clean your lens
Don’t forget the obvious! A barely there fingerprint smudge will mess with focus and clarity. A quick wipe with soft cotton, like a tee shirt or jeans, works great for this.
Kill the Lights
While lots of light is generally great for photos, artificial light is not. It casts unflattering colors and shadows onto the scene. Turn off all overhead bulbs and lamps, and open any closed shades or curtains. NOTE: The exception to this rule is in a tight closet or pantry that receives very little or no natural light. We’ll talk about how to work with those below.

Snap
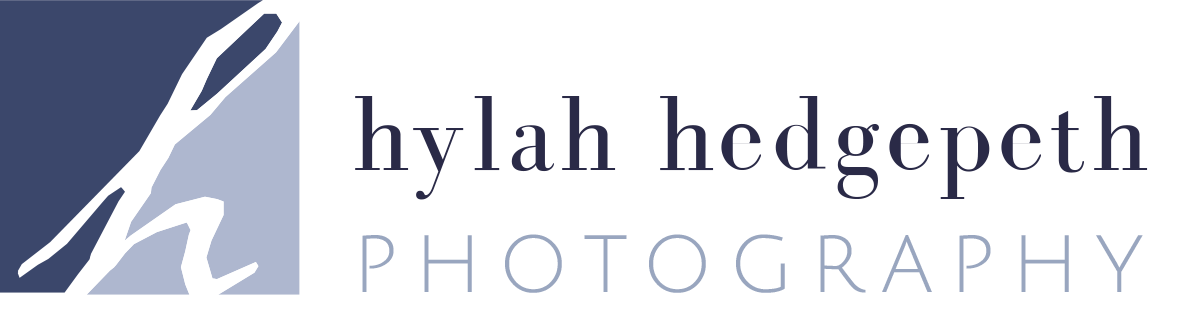
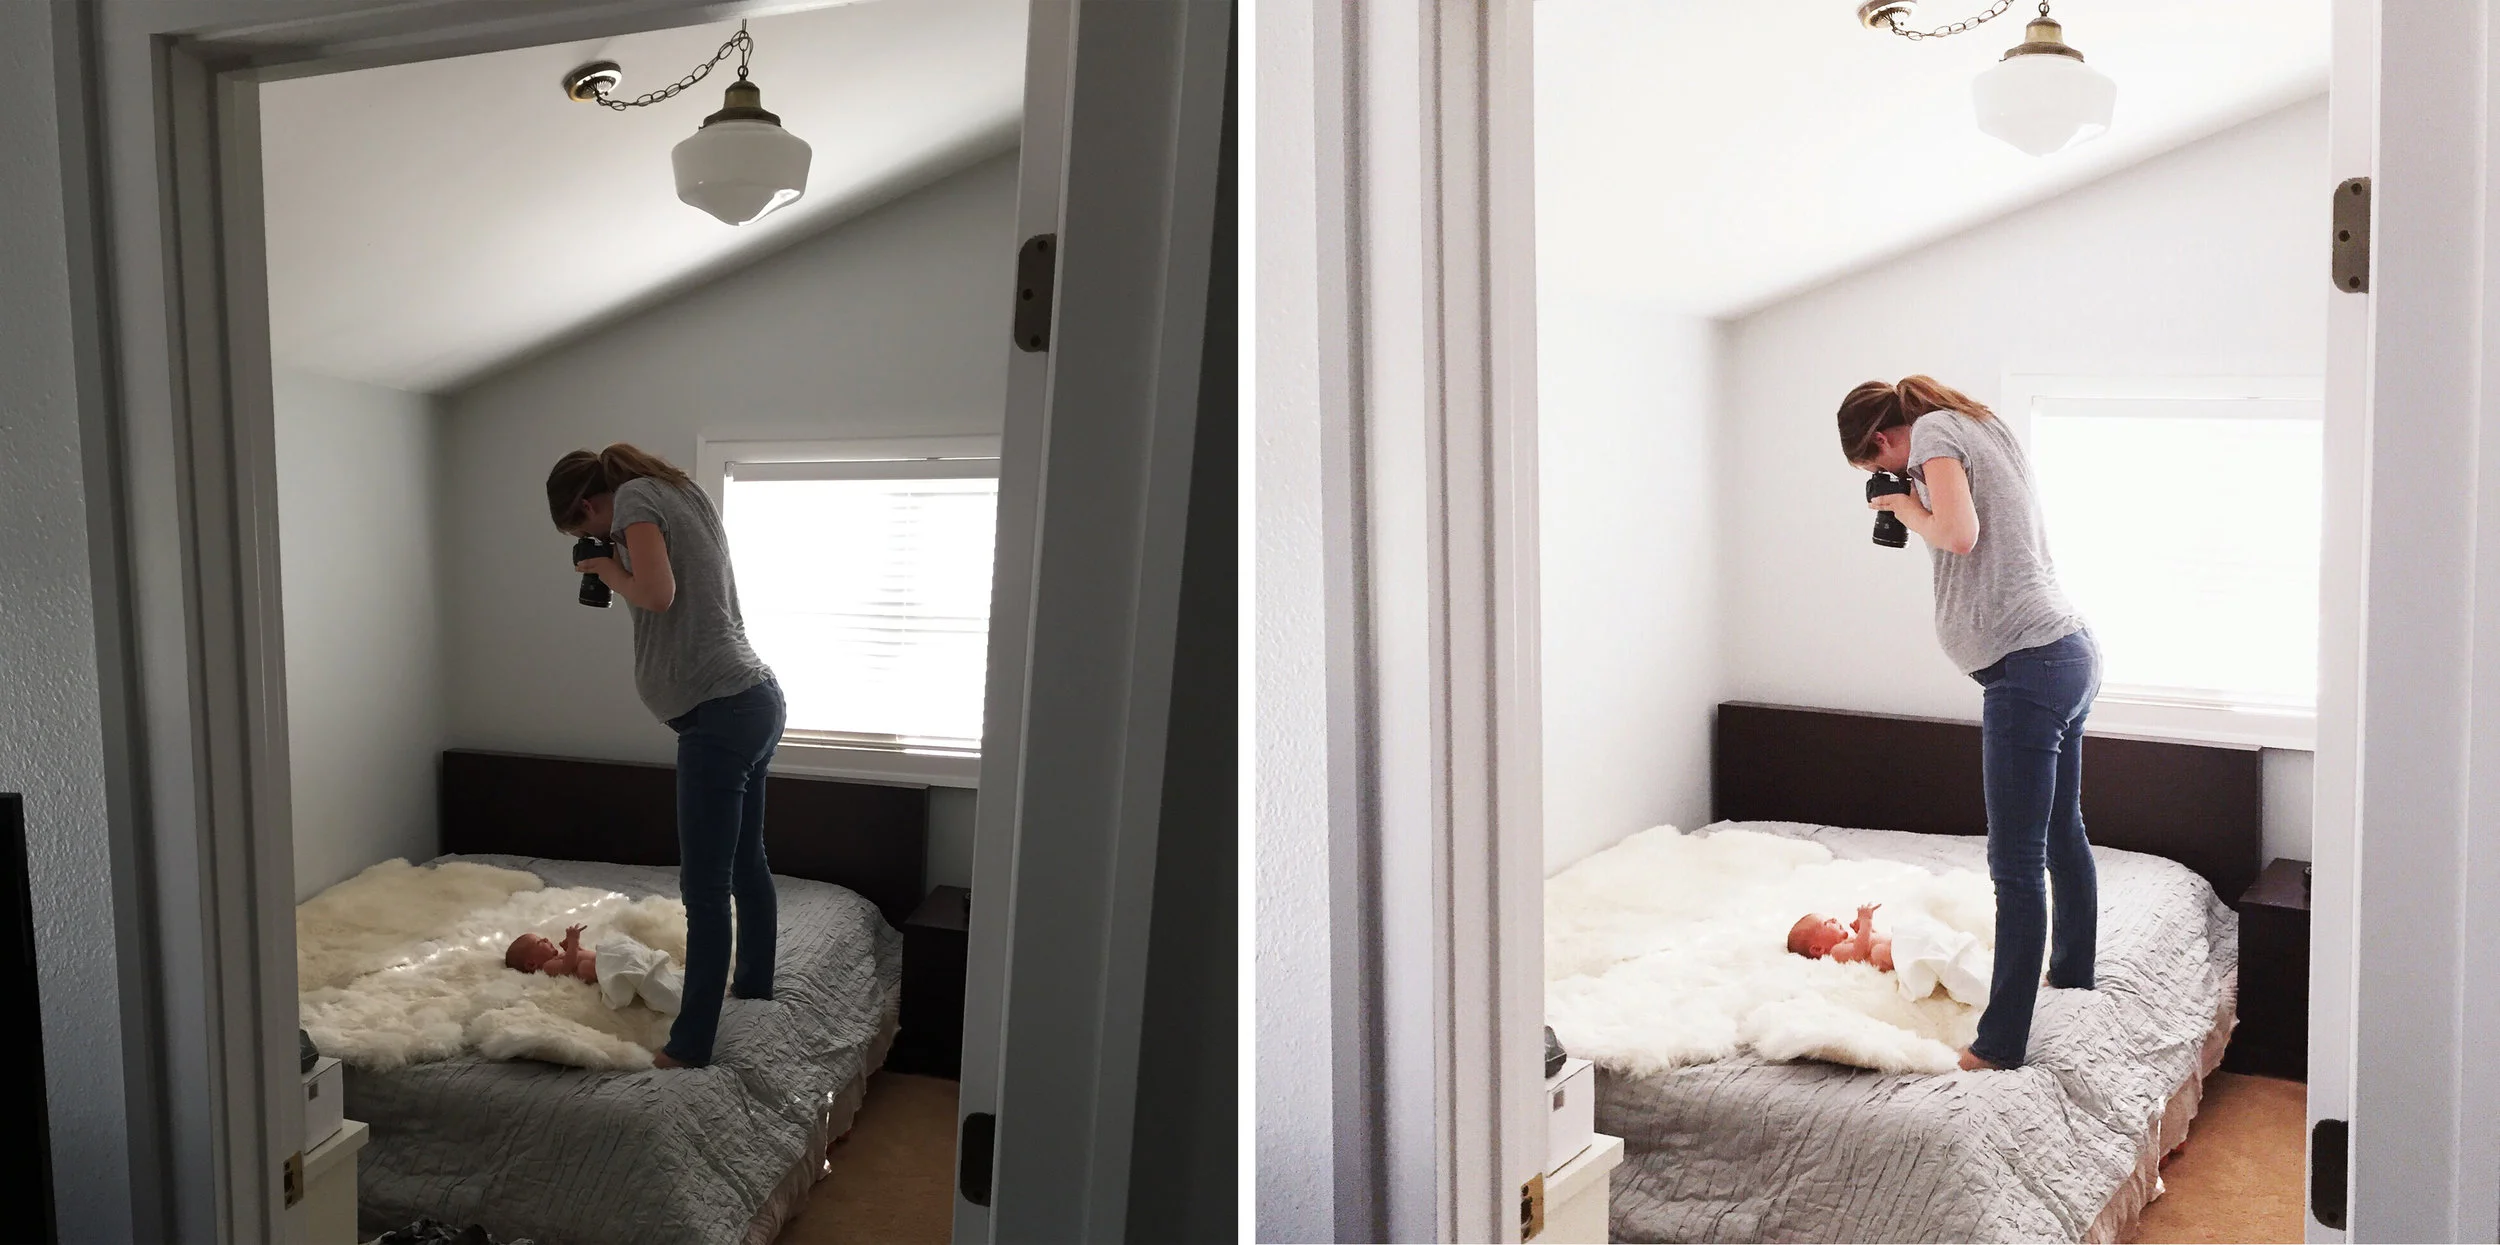
Compose
Use your camera’s grid to get the lines in the frame as straight as possible (ie shelves should appear neatly parallel to one another). This usually means hinging at the waist and shooting straight-on so that the room isn’t distorted. It doesn’t need to be perfect at this point, but the closer the better.

The first image was taken quickly without paying attention to parallel lines. The second image is straighter and will be much easier to perfect in post.
Focus
Decide what the focal point in the frame should be and touch it on your screen. For a shelf or cabinet display, choose the most interesting piece. For a room overview, select whatever your eye naturally gravitates to. Often this is visible text (on a wall print for example), a face (like in a framed photo), or a unique piece of furniture. Touching this item on-screen will lock the focus there, so don’t move at this point!
Expose
Once you’ve set the focus, an exposure meter will pop up. Most photos benefit from a boost in brightness at this point. DON’T overdo it. You can always add more later.


Pull the Trigger
Don’t zoom. Don’t change the camera’s crop - a full frame provides flexibility for sharing via various outlets later. I like to take a deep breath at this point and click the shutter at the bottom of my exhale. A still hand improves image quality, especially in low light conditions.
Get Creative
Each job is an inspiring story, and this is your chance to tell it! You’ve taken the “money shot” that shows the transformation and overall amazingness of the space. Now you can move closer to certain details that you love, such as overhead shots of a tidied drawer or desk. Or a close-up of a nursery shelf that combines beauty and functionality.

NOTE: If you have “portrait mode” on your phone, now is a great time to use it!

portrait mode on the left - normal “photo” mode on the right
Edit
Color / Exposure / Filter
ColorStory and VSCO are my favorite apps for basic adjustments as well as filters. When choosing a filter, look for white whites (as opposed to yellow or blue-tinted neutrals). Look for highlights that aren’t overly blown out and blacks that still contain detail. This takes some practice. I recommend taking a screen shot of the @OperationOrganization feed and comparing your image. If yours looks significantly cooler or warmer, adjust with the temperature/tint tool. If yours is significantly brighter or darker, adjust the filter opacity or brightness/exposure meter.
Sharpness
Add a touch of sharpness to every image. It makes a big difference! Just don’t overdo it - I recommend 5-10%.
Straighten
SKRWT is a must for interiors! Getting the photo’s lines neatly parallel and perpendicular is a game changer. The more accurately you capture the angles in-camera, the easier this process will be. Start by finding the most dominant line in the image and “rotate” the image to make it parallel to the frame. From there, alternate between small adjustments to the horizontal and vertical planes. It often takes a bit of massaging and patience. It’s worth it!
out-of-camera vs exposure/color correct/filter/sharpness/straightening

before and after
Save and Share!
That’s it! I recommend uploading to Operation Organization the full, uncropped frame in order to maintain flexibility (feed vs stories for example).